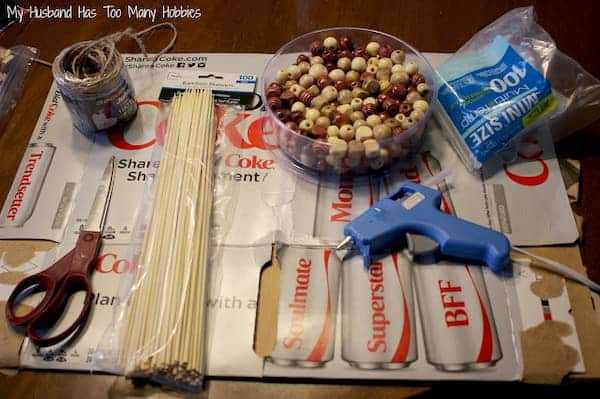

Supplies Used:
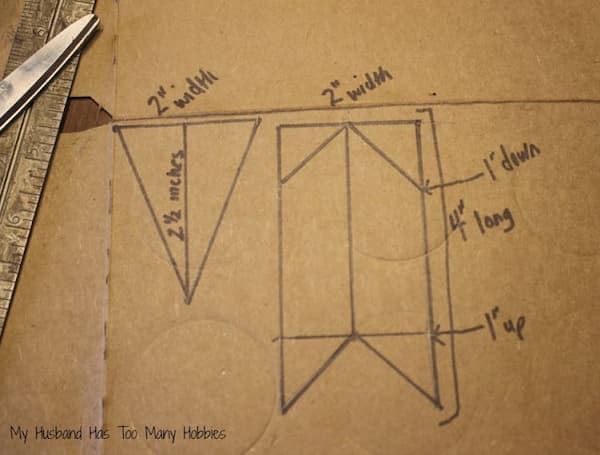
To start, using a ruler, I drew a template for an arrowhead and for the ‘feather’ tip. I wrote the measurements down so you could easily see what I used.
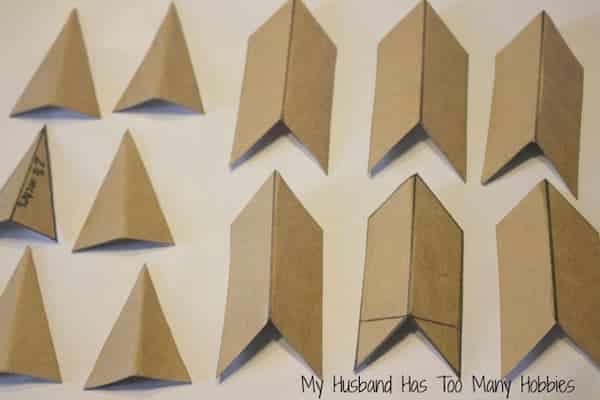
I cut these out and used them to make several more and cut them out. I like the weight of the coke carton cardboard because it is not too thin, but it is easily cut with a scissors. I folded each piece in half.
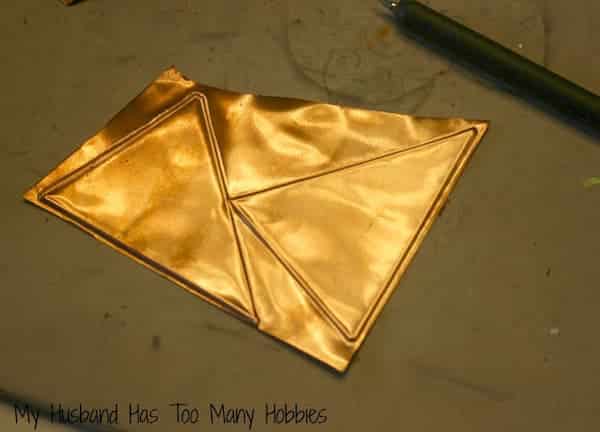
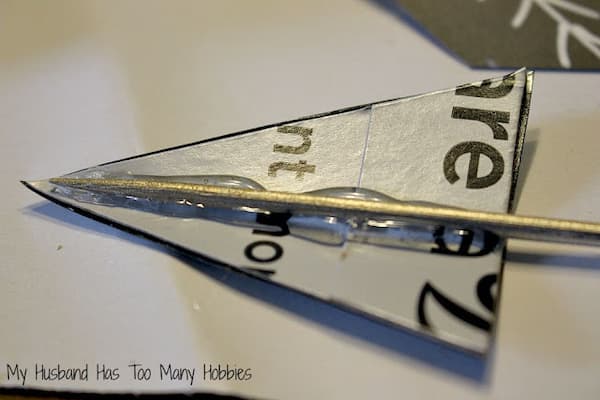
I used these same templates to cut a few pieces from my scraps of copper tooling foil. I traced the pattern with an embossing stylist. It was a tight fit.
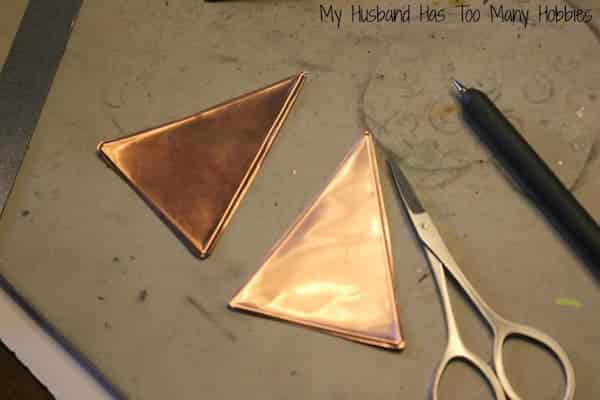
I cut out the pieces using a jewelers scissors.
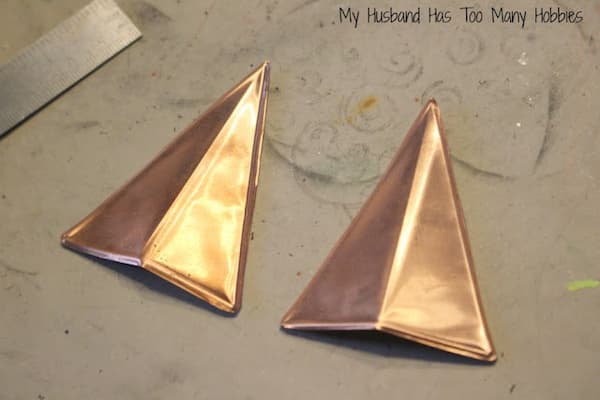
I bent each piece in half.
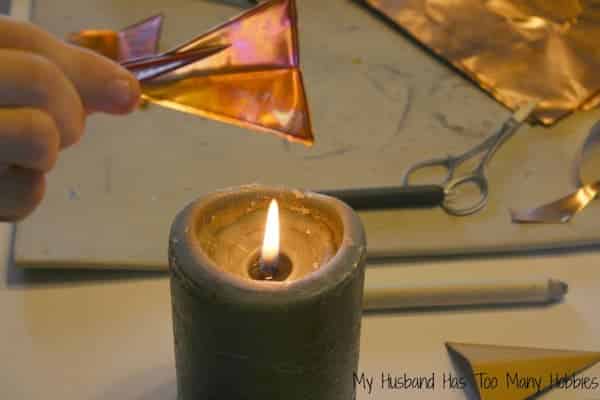
Using a candle, I held the copper over the flame to age the copper and give it a nice patina. Metal transfers heat so you want to make sure you use something besides your fingers to hold the metal over the flame as it gets hot very quickly. The below picture is my #1 Son holding the metal so I could get a picture of this process.
Because this metal tooling foil is sturdy, I did not glue it to the cardboard.
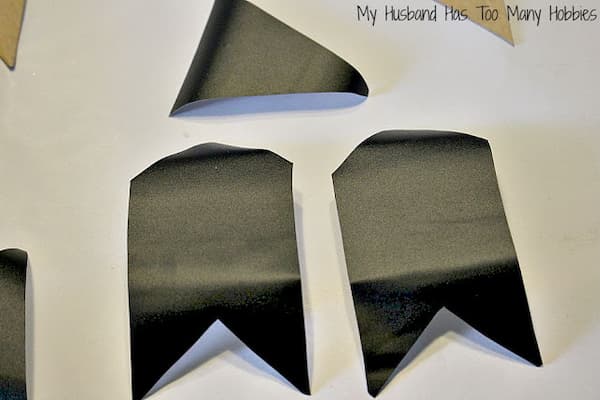
Using my cardboard templates, I traced the pattern onto the chalkboard vinyl and did the same on some scrapbook decorative paper.
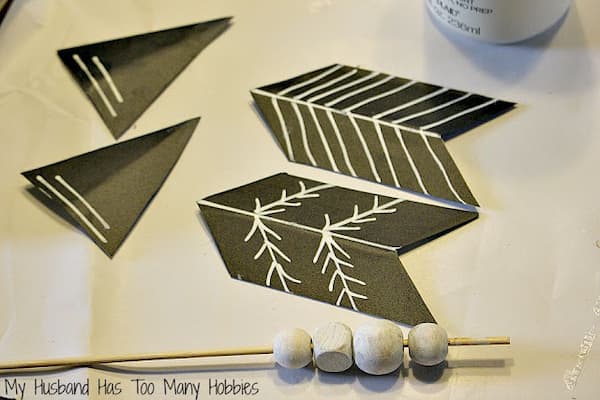
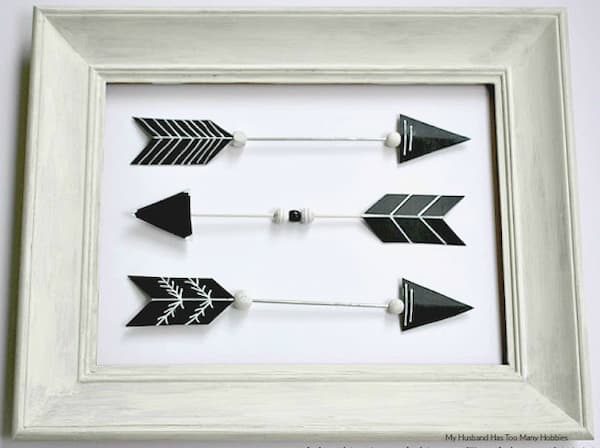
This chalkboard paper has adhesive on one side, so I just stuck each cut out piece to a piece of the cardboard. Using a white paint pen, I drew a simple design on them.
I used bamboo skewers for the arrow shaft. I had some that were spray painted silver from a previous project and I used them, others I painted white or left plain.
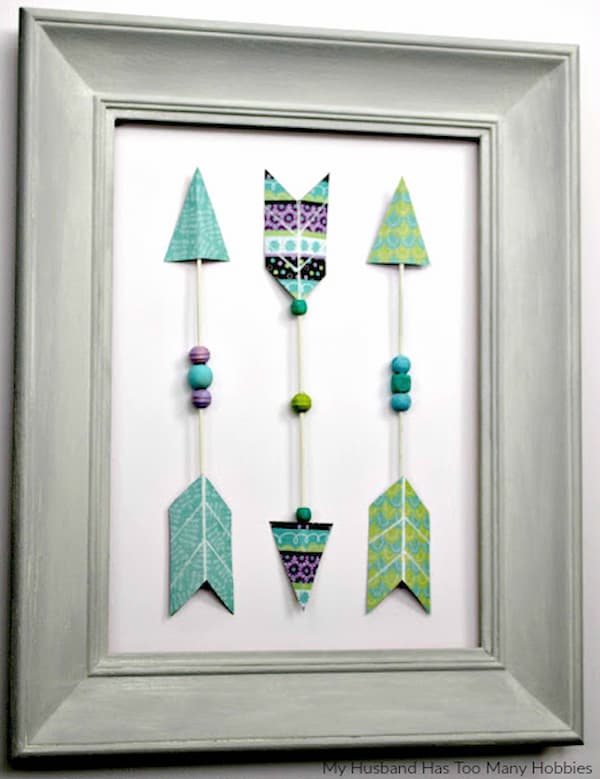
I had quite a few wooden beads, so I pulled some of those out. For the chalkboard arrows, I painted them lightly with white paint. For the scrapbook paper arrows, I used different colors of standard craft paint to paint the beads. For the rustic arrows, I just left them as they were.
The scrapbook paper was glued to the cardboard templates that I made and I used the white paint pen to draw a center line and feather lines right on the paper.
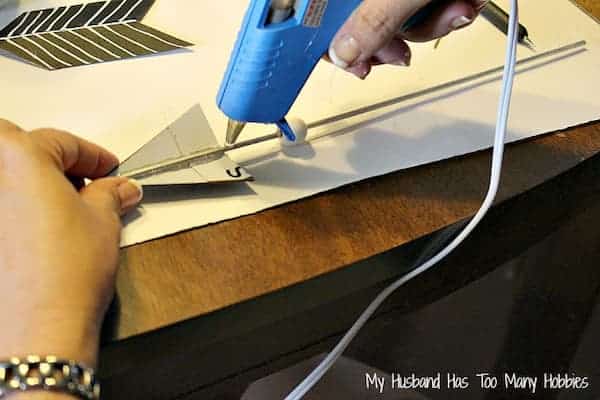
To attach the cardboard to the skewers, I used hot glue.
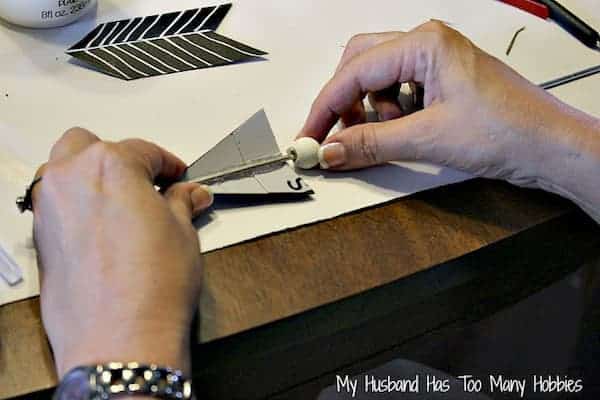
Just remember to put the beads on the skewer before you attach the other end!
To hold the beads in place, I again used my hot glue and put a small bead of glue where I wanted the bead to stay and then moved the bead to that spot to secure it.
I attached the feather ends the same way.
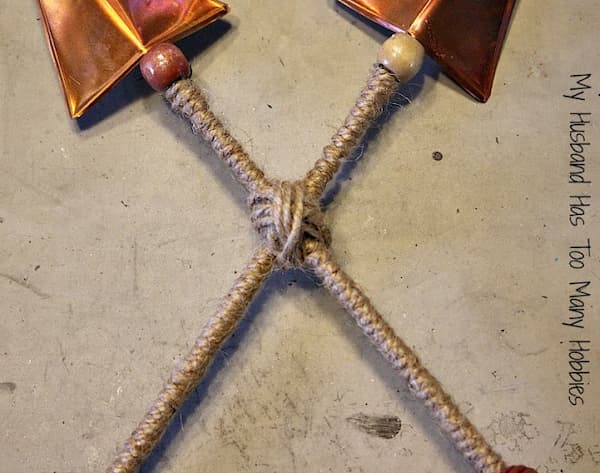
For the rustic arrows, I used twine to wrap around the skewer and I used a separate piece of twine to tie these two arrows together.
The other arrows will be hung in an empty picture frame suspended with fishing line to keep them in place. For this picture these arrows are laid on a foam board with a picture frame set around them.