How make your own DIY Modern Candlesticks:
I procrastinated a little for this project. My family was leaving for our annual Colorado vacation and I was busy at work trying to tie up loose ends, so I didn’t have time to do any thrift store shopping. I figured that I would find a flea market or thrift store in Colorado and come up with something brilliant.
Unfortunately, I didn’t find either in the area we were staying. Luckily, my husband was nice enough to stop at a flea market I found on-line which was on our way home in Fort Collins Colorado. I found a set of brass candlesticks. They were inexpensive at a dollar a piece, and small enough to easily transport home.
I knew that I would only have a couple hours to put this project together to make it in time for this post, so on the long drive home, I came up with a perfect and easy plan to give these candlesticks a modern facelift.
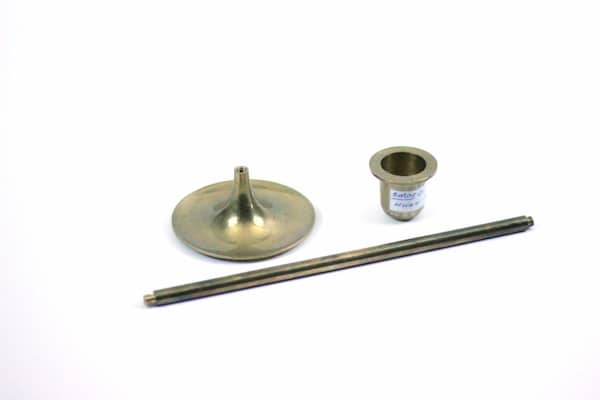
I didn’t realize that these candlesticks screwed apart when I purchased them. As I wanted to use only the stem and candle cup for this project, that was a happy surprise because I was not really looking forward to sawing off the base of each candlestick. I cleaned up the candlesticks and took them outside for two thin coats of black satin spray paint.
While the paint was drying, I search through some wood scraps and came up with 3 wood blocks to use for the base. I cleaned them up and sanded off any rough edges.
Mr. Hobby helped me out by drilling a hole in each block the perfect size to be able to insert the stem of the candle holder so that it fit and held firmly. The hole was drilled deep into the block, but not all the way through. The stem fit snugly which meant I didn’t have to use any glue.
The brass candlesticks were inserted into the blocks. If I had more time I would have probably used different sized wood blocks and I would have put a protective coat on the wood blocks. I will put that protective coat on later, for now I needed to get some pictures taken.
Don’t have the right sized taper candle? Here’s a little trick:
Ugh! I didn’t have any taper candles. A quick trip to our local Wal-Mart netted me 3 – 10 inch taper candles. The candles were too long for the project, so I ended up cutting about two inches off the end of each candle and that worked like a charm.
Don’t you just love how these turned out? I do and I have a confession to make. It is likely that the inspiration for this project came from watching several hours of Fixer Upper one day while the guys were out mountain biking. Joanna had some very pretty thin black candlesticks sitting on a mantel in a few of the houses they fixed up that day. Their candlesticks didn’t have wood bases like mine, but I can imagine Joanna using these in one of her makeovers. What do you think?
If you enjoyed this project, please Pin It to share! Thank you for supporting our blog!
Now let’s take a look at the other projects being shared today from our blogging friends!!